Garage Door Remote Not Working? Complete Vancouver Troubleshooting Guide for Every Brand and Model
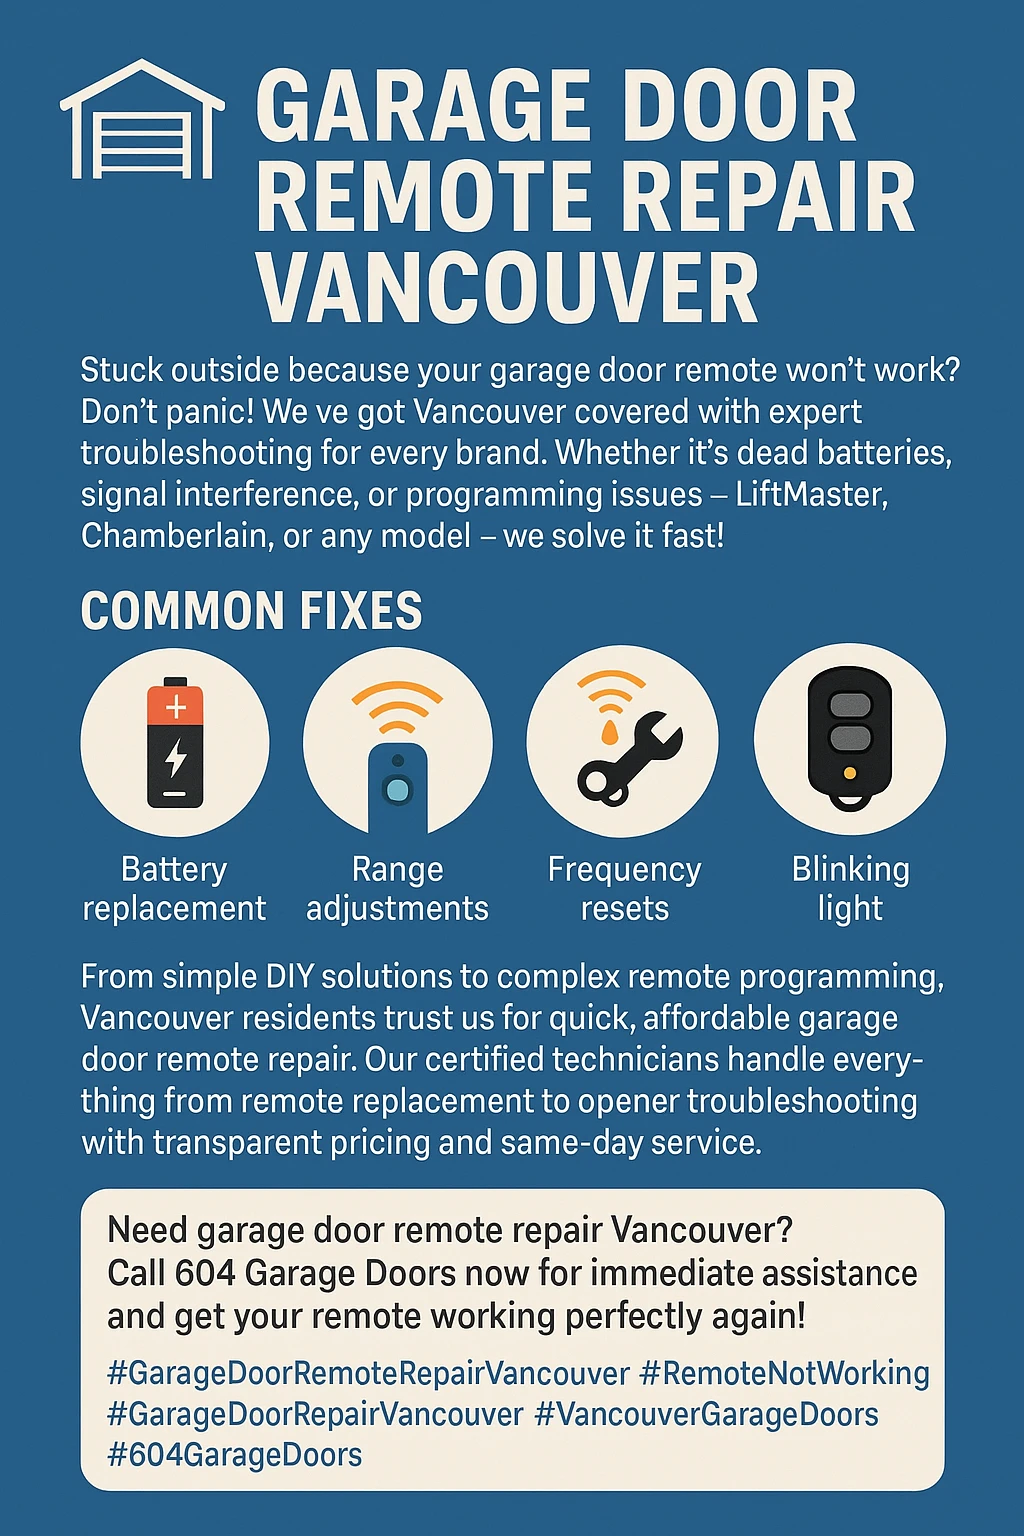
Stuck outside your garage because your remote decided to take an unscheduled vacation? Don’t panic – we’ve got the ultimate troubleshooting playbook that’ll get you back inside faster than you can say “dead batteries.” Picture this: You’re pulling into your driveway after a long day, Vancouver rain coming down like there’s no tomorrow, and you press that familiar button on your garage door remote. Nothing. Nada. Zilch. Your garage door just sits there, mocking you while you contemplate making a dash for the front door through the downpour. Trust me, I’ve been there, and it’s about as fun as stepping on a Lego barefoot. [IMAGE PLACEHOLDER FOR IMAGE1] The thing is, garage door remotes are surprisingly finicky little devices that can throw tantrums for all sorts of reasons. From dead batteries (the usual suspect) to radio interference from your neighbor’s new LED light setup, these gadgets can leave you stranded faster than you can say “backup plan.” But here’s the good news – most remote issues are actually pretty straightforward to fix once you know what you’re dealing with. Living in Vancouver adds its own special flavor of challenges to the mix. Our coastal climate, with all that moisture and temperature swings, can mess with electronic components in ways that would make your remote control manufacturer weep. Plus, our urban environment is basically a soup of radio frequencies that can interfere with your garage door’s signal faster than rush hour traffic on the Lions Gate Bridge.
Key Outtakes:
- Dead batteries cause roughly 70% of garage door remote failures, but Vancouver’s humid climate can accelerate battery drain
- Radio frequency interference from LED lights, WiFi routers, and urban infrastructure can severely limit remote range and functionality
- Each major brand (LiftMaster, Chamberlain, Genie) has specific programming sequences that must be followed exactly for successful remote synchronization
- Weather-related moisture damage is particularly common in Vancouver’s climate and often requires complete remote replacement rather than repair
- Professional service calls in Vancouver typically cost around $195, making DIY troubleshooting worth attempting first
Understanding Why Your Garage Door Remote Stops Working
Let’s get real about what’s actually happening when your garage door remote decides to ghost you. These little devices are basically tiny radio transmitters that send coded signals to receivers in your garage door opener. When everything’s working properly, it’s like a perfectly choreographed dance between your remote and the opener. But when something goes wrong, that dance turns into more of a chaotic stumble. 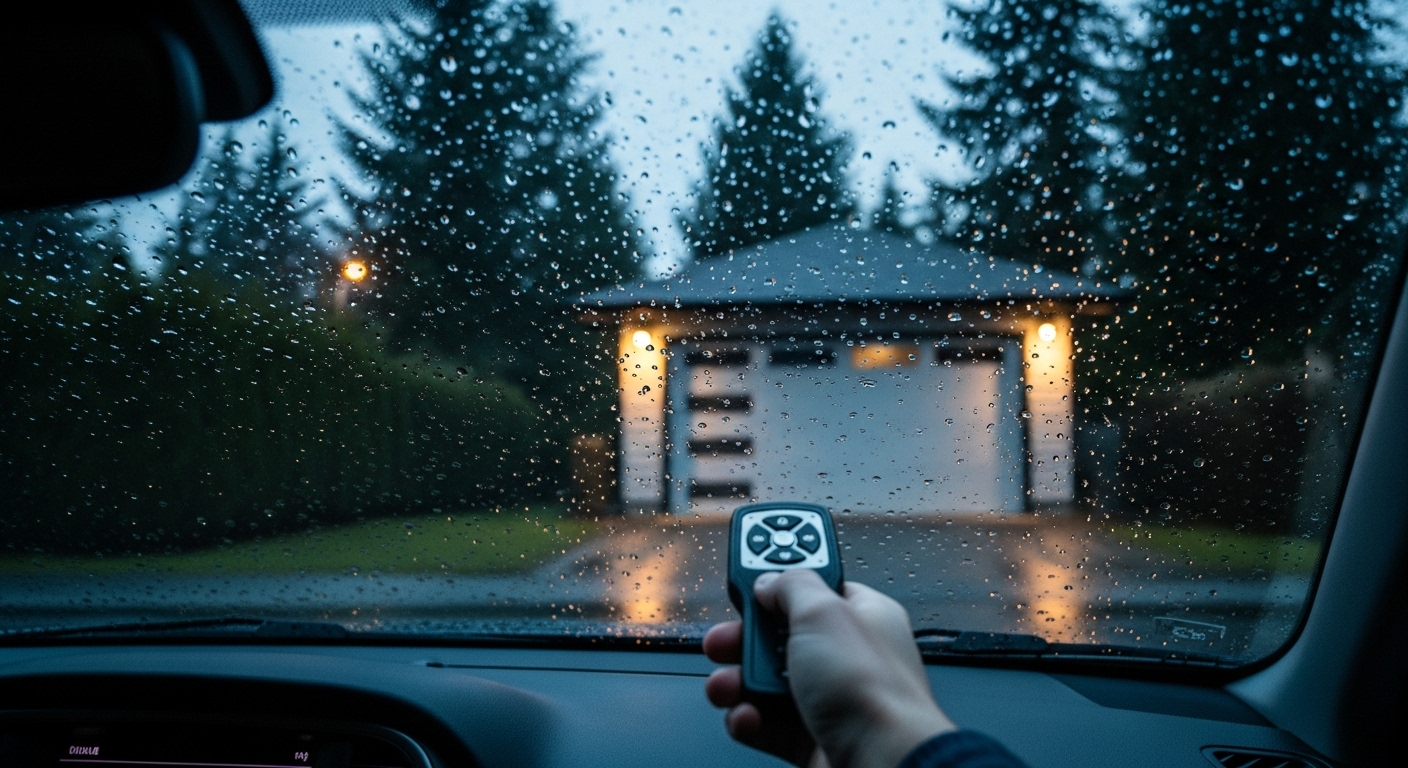 The most common culprit – and I can’t stress this enough – is dead batteries. I know it sounds almost too simple, but you’d be amazed how many frantic service calls could be avoided with a quick battery swap. Your remote might still light up when you press buttons, but that doesn’t mean the batteries have enough juice to actually transmit a signal. It’s like your phone showing one bar of battery but dying the moment you try to make a call. In Vancouver’s climate, batteries tend to drain faster than they would in drier regions. The constant humidity and temperature fluctuations we experience can mess with battery chemistry, causing them to lose their charge unpredictably. I’ve seen remotes that worked perfectly fine one day and were completely dead the next, especially during those lovely winter months when we get those dramatic temperature swings. Physical damage is another sneaky issue that creeps up on garage door remotes. Maybe you dropped it in a parking lot, or it took a tumble out of your sun visor onto the garage floor. Sometimes the damage isn’t immediately obvious – the remote might look fine on the outside but have internal components that got jostled around. Water damage is particularly nasty in our neck of the woods, where rain seems to be a permanent fixture of life. Signal interference has become increasingly problematic as our homes fill up with more electronic devices. Your garage door remote operates on specific radio frequencies, typically between 300-390 MHz. But guess what else likes to hang out in that frequency neighborhood? LED light bulbs, WiFi routers, baby monitors, and a whole host of other household gadgets. It’s like trying to have a conversation at a rock concert – technically possible, but good luck getting your message across clearly.
Step-by-Step Troubleshooting for Non-Responsive Remotes
Now that we understand the what and why, let’s dive into the how-to-fix-it part. Think of this as your garage door remote emergency toolkit – we’ll start with the simple stuff and work our way up to the more complex solutions. First things first: let’s tackle that battery situation. Pop open your remote (most have a sliding back cover or a small screw) and take a look at those batteries. Even if they look fine, swap them out with fresh ones. I’m talking brand new, straight from the package batteries – not the ones you found rolling around in your junk drawer from who knows when. Make sure you’re using the correct battery type, as different remotes require different voltages. 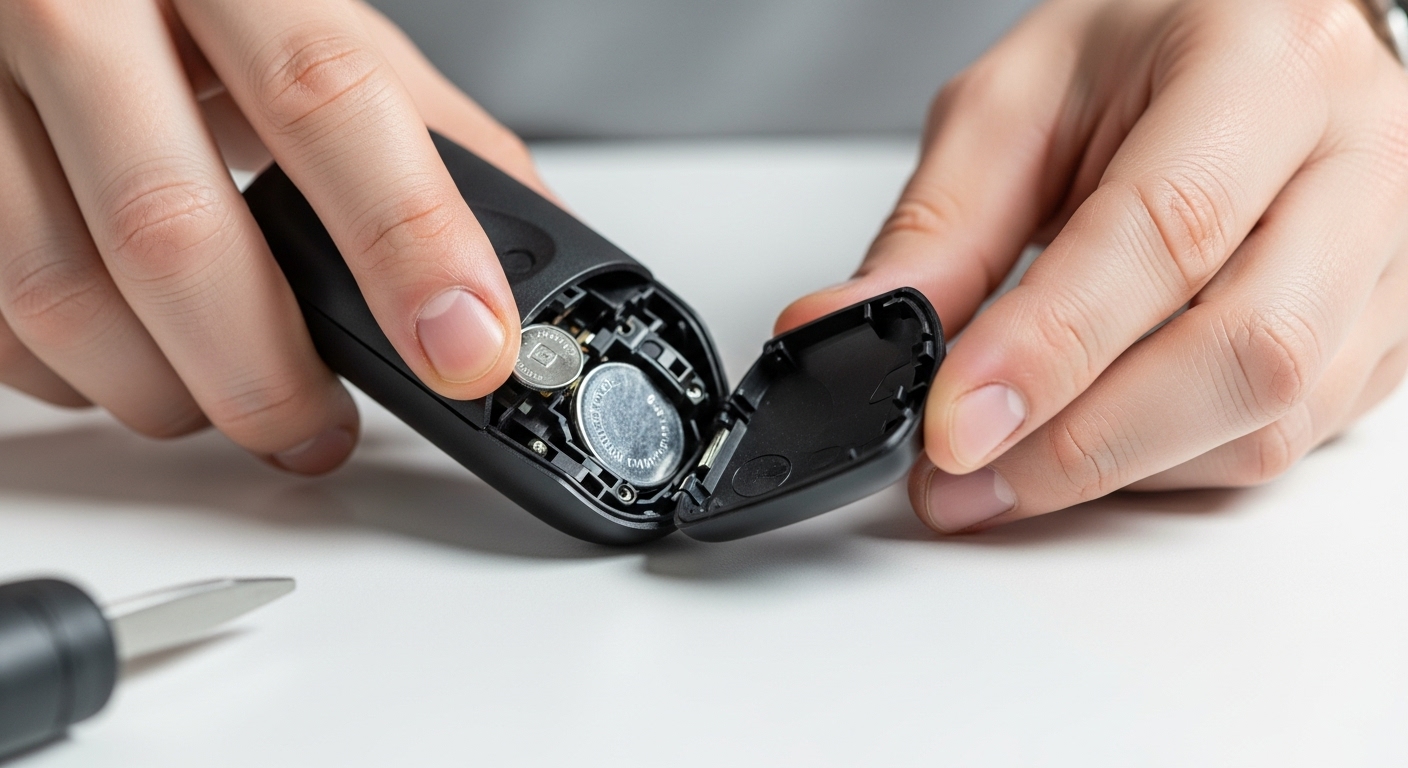 After installing new batteries, test your remote from different distances. Start close to the garage door opener and gradually move farther away. If it works up close but not from your usual parking spot, you’re dealing with a range issue rather than a complete failure. This gives us valuable diagnostic information about what’s really going wrong. Next, let’s check for any obvious physical damage. Look for cracks in the case, corroded battery terminals, or buttons that feel mushy or don’t click properly. If you spot any moisture inside the remote, that’s usually game over – water and electronics mix about as well as oil and water. You might be able to dry it out with rice (the old phone-in-rice trick), but honestly, replacement is usually your best bet. Here’s a pro tip that many people overlook: check if your garage door opener has a lock feature that’s been accidentally activated. Many modern openers have a lock button on the wall-mounted control panel that disables remote operation for security purposes. If this feature is turned on, your remote will be completely ignored no matter what you do. Look for a blinking light on your wall control or consult your opener’s manual to see how to disable the lock function. Test your remote with the garage door in different positions. Sometimes mechanical issues with the door itself can cause the opener to ignore remote commands. If your door is binding, off-track, or has broken springs, the opener’s safety systems might prevent it from responding to remote signals. Try operating the door manually (disconnect the opener first for safety) to see if it moves smoothly. Range testing is crucial for identifying interference issues. Walk around your garage and test the remote from various angles and distances. If you notice dead spots where the remote doesn’t work, or if the range seems dramatically reduced from what it used to be, interference is likely your culprit. Pay particular attention to areas near electrical panels, fluorescent lights, or other electronic equipment.
Brand-Specific Programming and Compatibility Solutions
Different manufacturers have their own quirks when it comes to programming and compatibility, and understanding these differences can save you hours of frustration. It’s like learning the secret handshake for each brand – once you know it, everything becomes much smoother. LiftMaster remotes are probably the most common you’ll encounter, and they have a fairly straightforward programming process. The key is finding the “Learn” button on your garage door opener motor unit. This little button might be hiding behind the light lens, and it’ll be color-coded – green, orange, red, purple, or yellow. Each color indicates a different type of remote technology, so make note of which one you have. Press and release the Learn button, then within 30 seconds, press and hold the button on your remote that you want to program. The opener light will turn off or you’ll hear two clicks, indicating successful programming. 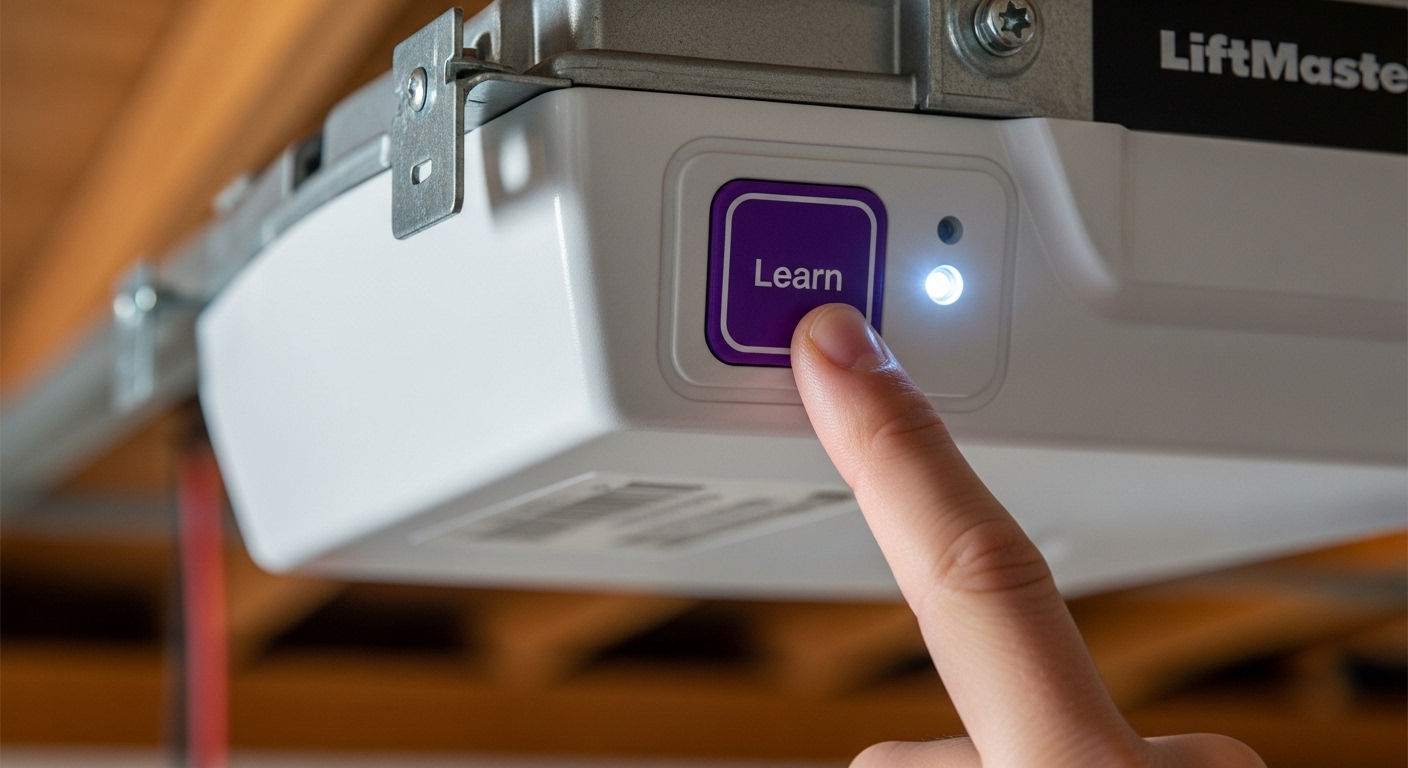 Chamberlain remotes work very similarly to LiftMaster (they’re actually made by the same parent company), but they often come with additional smart features. If you’ve got a MyQ-enabled opener, you might need to use the MyQ app for initial setup rather than the traditional Learn button method. The programming sequence is essentially the same, but you might need to enable learning mode through the app first. Universal Chamberlain remotes can work with over 90% of garage door openers, making them a solid backup option. Genie remotes are where things get a bit more interesting. They use something called Intellicode technology, which changes the access code every time you use the remote. This is great for security, but it means the programming process can be a bit more finicky. You’ll need to locate the Learn
